And so I came up with this nail art design:
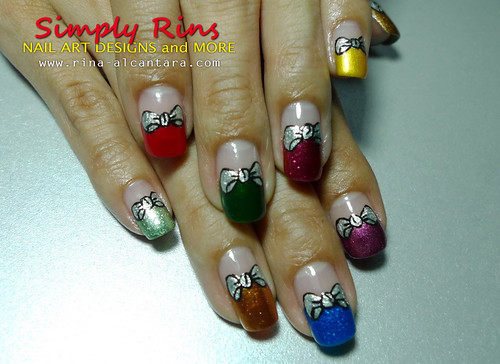
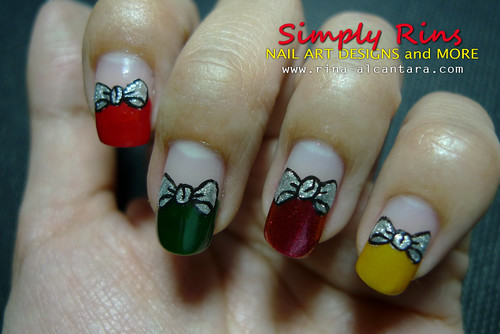
Christmas gift boxes nail art!
I just realized that I'm into a multi-colored nail art phase! My previous Caronia Butterfly Nail Art also had a different shade of nail polish per nail! Hmm, I think my mood is trying to cheer me up through my current nail designs. I wanted to create something simple but lively that's why I opted to paint each nail a different color. The colored the bow the same shade on all nails to have something constant. I felt having different colors for the bow will make the design confusing.

From left: Orly Cherry Bomb, Sally Hansen Emerald City, OPI The Show Must Go On, and L.A. Colors Wave Length. I used Dashing Diva Lightening Ray for the bow. All in 2 coats.
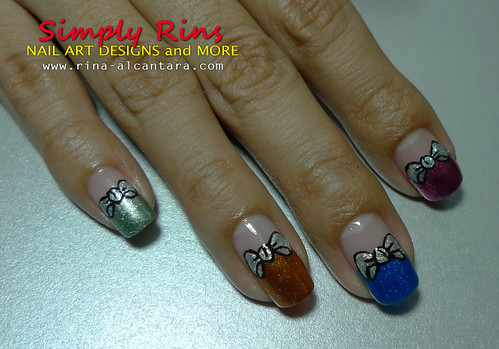
From left: Caronia Lounge, OPI Rising Star, China Glaze Blue Sparrow, and L.A. Colors Metallic Pink. Everything in 2 coats except for the Caronia Lounge which I thought needed 3 coats.
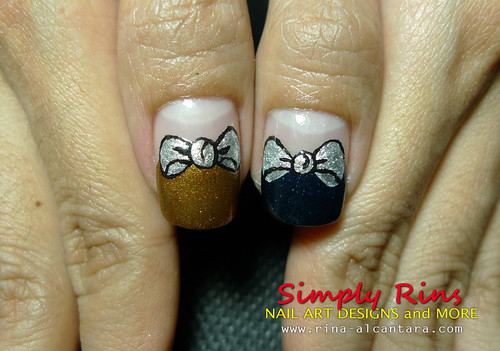
From left: Orly Solid Gold and Elianto Indigo Shine. Each applied in 2 coats.
Yes, apparently I really have big thumbnails!
Tutorial for Christmas Gift Boxes nail art:

1. For the gift boxes, I started out with painting a line from edge to edge of the nail, as if you're doing a french manicure. This will serve as your guide for painting your boxes. I find this an easier technique than to apply the polish normally using downward motion.
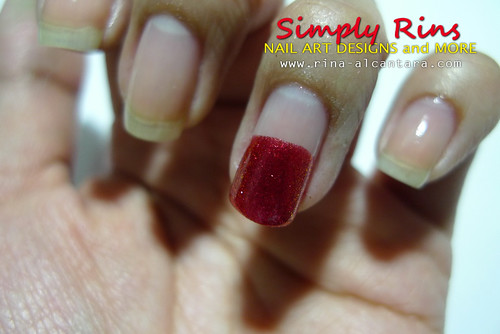
2. I then proceeded to painting the lower part of my nail from the guide to my tips.

3. Next, I drew the center of the ribbon with white acrylic paint. I use this method whenever I'm working on a non-white base so that the color I wanted to use for the design will pop out and not mix with the color underneath it.
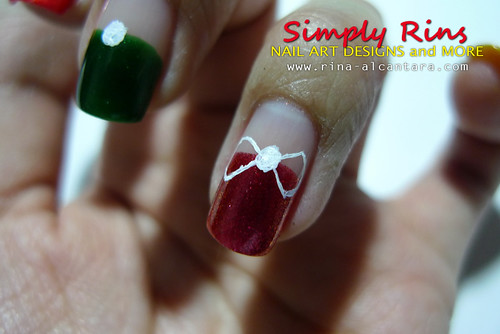
4. I then continued by drawing an outline of the ribbon itself with white acrylic paint, making sure it would cover most of my nail width. I find that having an outline makes it easier to shade an entire shape. It is also easier to fix than creating a solid shape immediately.
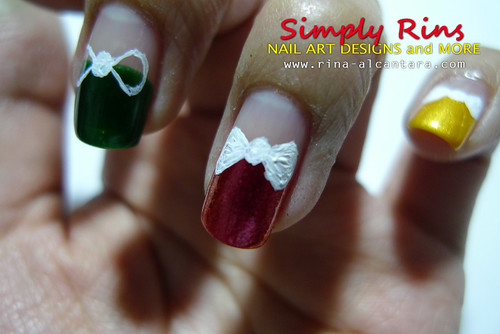
5. My next step is shading the ribbon to make a solid white base.
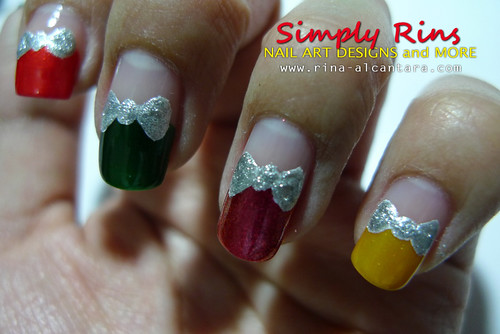
6. When the white base is completely dry, I painted over it my chosen color -- silver, with a blotting motion. As I mentioned in my previous nail art tutorials, I find this effective in making the color more opaque.
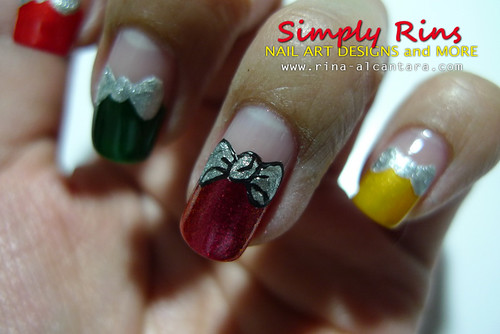
7. Finally, I outlined the ribbon with black acrylic paint to give it details.
A friend suggested I should have placed gift wrapper patterns to add twist to this Christmas nail art. So why I didn't actually confuses me! It was a brilliant idea! Perhaps if you'd try this nail art, you might consider my friend's suggestion.
I find this nail art sweet and classy. What do you think?
Note: I submitted this nail art as an entry to Give The Gift of ... Nail Polish! Nail Art Contest. If you have time, do check out all the other fabulous entries!
SHARE THIS: