This nail art is yet another black and orange combination.
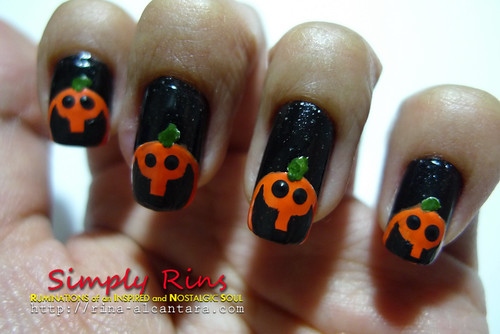
I call this Peeping Pumpkins.
If you've been a follower of this blog for quite some time, you would have probably noticed how I enjoy accent nail arts. And most of the time, I use my ring finger as the accent nail. But ever since the Halloween Nail Art Crawling Spiders, I've been in the mood to do freehand nail art wherein I paint the designs on all 10 hand nails!
Here's how the base color looks bare:
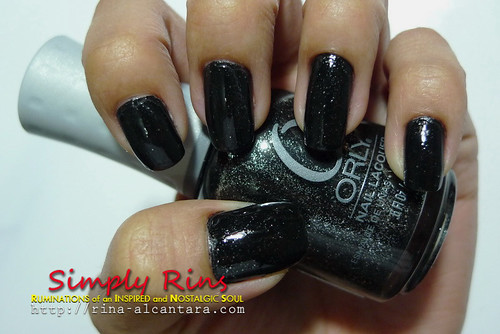
This is 2 coats of Orly Goth. I first thought of using just a plain black color but I really like the subtle shimmer of this shade. Application is really easy and was almost entirely opaque on the first coating.
When I started embracing my passion for nail art, I've been practicing my freehand nail art skills. I wanted to be able to paint my nails using my left hand as well (I'm a rightie). I decided to take it slowly by creating designs that consists of simple shapes and lines. I've also been fond of using my nail tips for nail art designs. My first was the Cupcake Nail Art and more designs followed. Perhaps it's becoming a personal trademark. :)
I wanted to share with you how I did this Halloween design through this tutorial:

1. First, I created a white semi-circle from approximately the middle of my nail down to the tips. Based on experience, painting a white base before the actual color is quite effective in revealing the actual shade of your 2nd color. When I painted the orange (for the pumpkin) directly after the black base color, it would take several coatings for the orange to stand out.
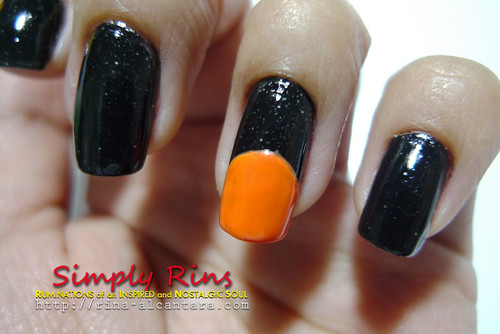
2. I allowed the white base to dry completely before I painted the orange polish. This is Dashing Diva Tangy Tangerine Thalia and I must say that I was able to get the bottle color in one coating because of the white base.
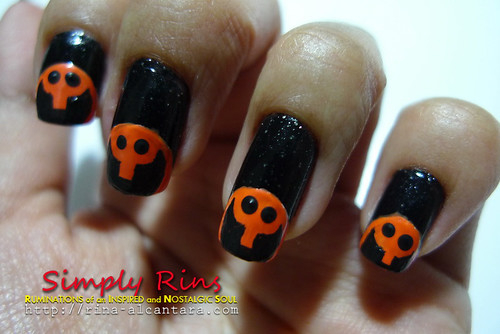
3. After everything is dry, I painted the Jack-O-Lantern's face. Usually, the eyes are triangle. But I wanted to keep things simple and just dotted the eyes with black acrylic paint. Oh, I should say that this is my first attempt to use acrylic for nail art. I was always scared it will damage my nails. But I figured the base coat will always keep my nails protected. No regrets since it was much easier working with acrylic paints when doing nail art designs. Anyway, I drew a happy mouth in each pumpkin with one tooth. So they're not just peeping ... they're smiling!
4. For personality, I added little green stems using Zoya Shawn. Again, I painted a white base before adding the green polish. After, I think they look like green spiked hairs! ;)
Personal tip: Like my previous nail art tutorial, I did one nail first for purposes of posting a tutorial. But I would recommend doing each step of the tutorial for every nail before going to the next step. I believe this method is faster and would create consistency with the design. I also recommend painting with your weaker hand first to have as a personal incentive finishing your nail art with ease because you'll be working with your strong hand last. Good luck!
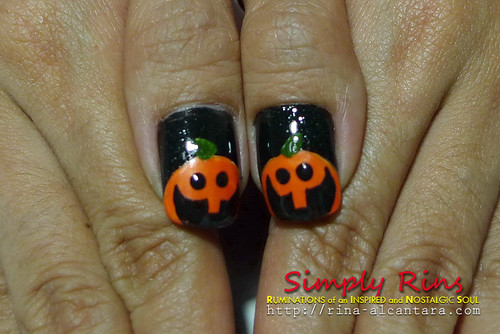
Sorry, I can't resist not taking a photo of these 2 chubby pumpkins on my thumbnails.
This is probably my 2nd to the last Halloween nail art for 2010. I know I wasn't able to create all those creepy Halloween characters. But there's always next year!
I hope you liked this as much as I enjoyed doing it. Halloween is a few days away! What color will your nails be wearing?
SHARE THIS: