Earlier this month, I went to Duty Free with my parents and bought a few Essie nail polishes that was on sale. I used two of those for this particular nail design. This is also my first time to do different accent nails on both hands. :)
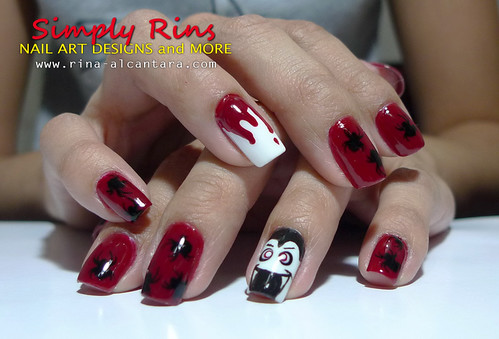
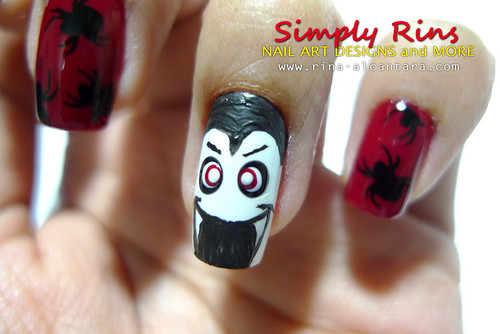
I named this, Dracula Bit My Nail.
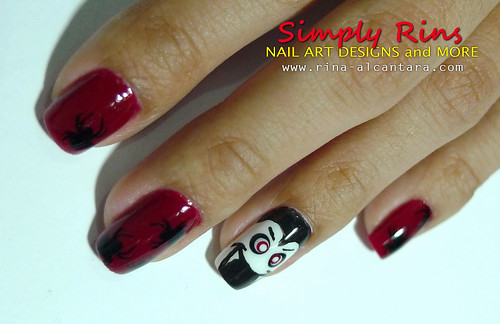
I drew Count Dracula on my left ring fingernail and a dripping blood on my right ring fingernail.
This is how the base colors look bare:

This is 2 coats of Essie Blanc on my ring finger and Essie Fishnet Stockings on the rest. Both polishes were very much easy to apply. Blanc is as white as it can get. Fishnet Stockings is very pigmented.

I stamped spiders from Bundle Monster BM13 image plate on my red nails. I was hesitant to do something with the rest of my nails. But I wanted to add something subtle on to the red polished nails. The design is almost invisible under the shade but it looks nice during the day or whenever the light hits my nails.
Here's a tutorial on how I did this Halloween Dracula nail art:
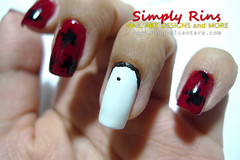
1. I drew an outline for the hair near my cuticles as a guide on how long I want Dracula's hair will be. I then drew a dot that will serve as a guide on where the center of his bangs will be. This, I believe will make it easier to draw the shape of his hair first before filling it. I used black acrylic craft paint for this.

2. I then drew 2 semi-circles from the dot to the side edge of my nail.
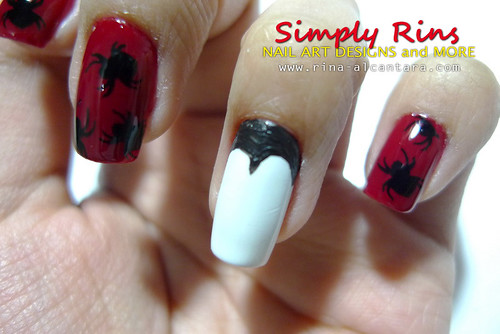
3. After outlining the shape of Dracula's hair, I continued to fill it with black acrylic paint. Based on experience, trying to paint the shape outright is harder than drawing an outline first.
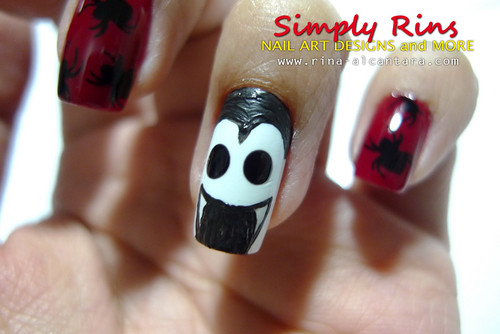
4. I then proceeded to dot the eyes and painted the mouth with the fangs. Like how I did Dracula's hair, I first outlined the mouth and the fangs before I filled it in with black acrylic paint. I'll explain on the next step why I started with a big black dot for the eyes.
5. I wanted more drama for the eyes so I alternated black, red, and white. I quite liked how it turned out. I experimented on how the eyes will look on a scratch paper before painting it on my nail. I'm sure you'll be able to come up with something quirky or spooky. :)
Here's the finished Halloween nail art on my left hand after a layer of top coat.

For the dripping blood, I just painted random strokes very lightly on my nail. I still used the Essie Fishnet Stockings so that the colors will be consistent.
I hope you liked this Halloween nail art and I'd like to thank all of you for keeping me company as I did my Halloween nail designs for the month. Happy Halloween everyone!
SHARE THIS: