
Simply Rin's version of a mummy nail art!
Forgive me, out of excitement, I forgot to take a picture of how the base color looks without any design. But I've used this base color before when I did my first Halloween nail art -- Spiders. This is an almost white shade from Dashing Diva named Charlotte's Wedding.
Here's a tutorial on how I did my mummy nail art:
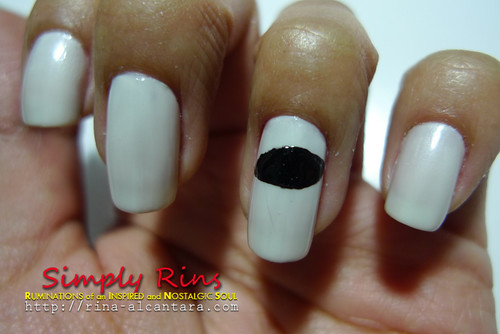
1. I first painted where the eyes will peep. Draw a black horizontal pear shape on the upper part of your nail. This doesn't need to be perfect. Find the technique that's comfortable for you. Personally, I find it easier to start at the middle going to the sides. But you may draw directly from one side to the other.
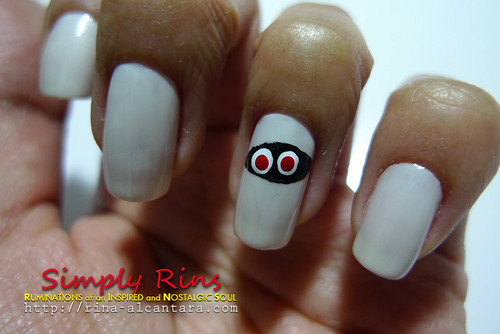
2. I drew the eyes next. White dots for the base and I added red dots for personality. I also placed the red dots on different positions for the mummies to appear to be looking at different directions. Please refer to the first photo and succeeding photos to see the other eyes.
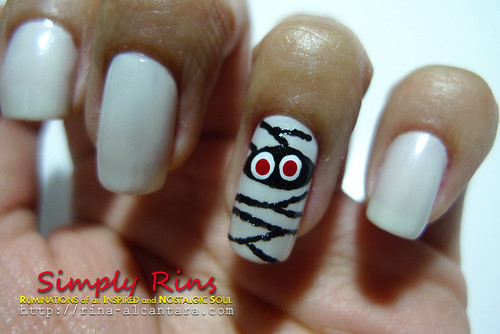
3. I painted the bandages last. I just drew random lines from side to side, maybe diagonal or straight. The distance is all up to you. I think the thinner the lines, the better. Unfortunately, I don't have a nail art pen nor a stripper (really!), so I had quite a hard drawing the lines with a nail brush. Steps 2 and 3 are interchangeable. You may choose to do this first before adding the eyes. I did the eyes first because I think the dots takes longer to dry compared to the lines for the bandages.
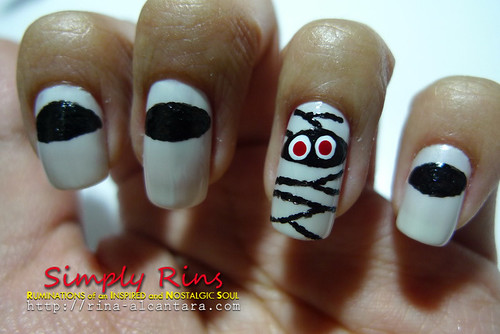
Personal tip: Like my previous nail art tutorial, I did one nail first for purposes of posting a tutorial. But I would recommend doing each step of the tutorial for every nail before going to the next step. I believe this method is faster and would create consistency with the design. I also recommend painting with your weaker hand first to have as a personal incentive finishing your nail art with ease because you'll be working with your strong hand last. Good luck!
To give justice to how I titled this nail art post, I took a picture of both my hands to let you see all the mummies!

A Halloween nail art design with too many mummies!
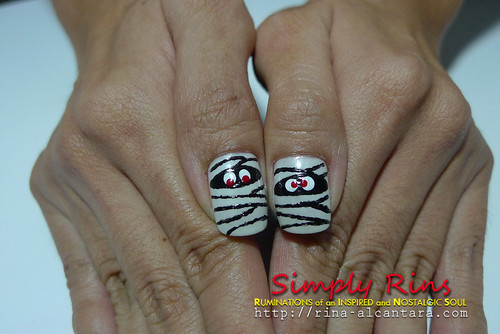
And of course, a shot of my two fat mummies that's painted on my fat thumbnails!
I submitted this design to the Halloween nail art challenge hosted by Fab Ur Nails and Art of Nail. There's a new challenge every week with different themes. This is not a contest but a sharing of talents and ideas from various nail art enthusiasts. If you'd like to join, you may check out their blogs or join Fab Nailarts Facebook Page for updates.
I do hope you'd like my version of this mummy inspired Halloween nail art!
SHARE THIS:


