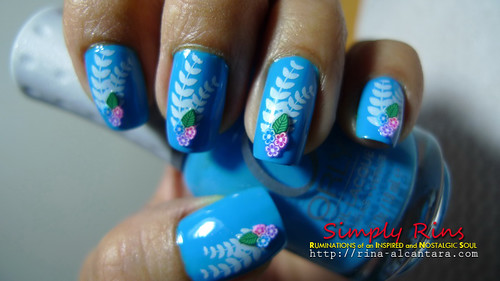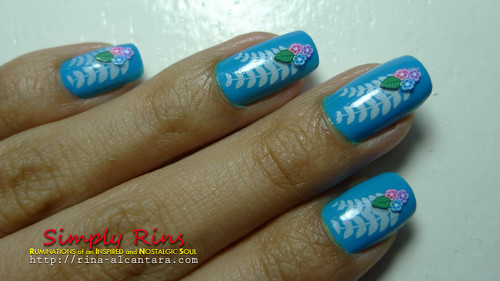
This is a layer of base coat, 2 coats of Orly Blue Collar, stamp design from the Bundle Monster BM20 image plate, used white Konad special polish for stamping, and embellished with a fimo nail art.

I wasn't sure if this blue shade fits my skin tone but I do like it. Application of the Orly Blue Collar was quite easy. Although, clean up was a little difficult even if I almost instantly remove excess polish that stains my skin.

I sliced this fimo cane design a few days after I purchased my set of fimo rods. It has become one of my favorite fimo nail art designs. I combined it with a fern-like image from BM20 plate.
Personal tips on applying fimo nail art:
1. Try to slice the fimo canes as thin as you possibly can. The thinner your slice, the easier it will be for you to place it on your nail and easier for the fimo design to follow the curve of your nail.

2. Instead of dabbing a clear polish on your nail before positioning your fimo design, I find it more effective to set the fimo a few seconds after your apply a thin layer of top coat or before it dries completely. This method would make it easier for you to lay your fimo design on your nail without having too much excess clear polish building up on the edges of your fimo design.
3. Add another thin layer of top coat after everything completely dries. This will be enough to make your fimo nail art last for a few days.
I hope you liked this design and learned a few tips on working with fimo canes.
SHARE THIS:


